Unreal Quickstart Guide
Plugin Integration
Note
Your build for OmniStream you must be running on Windows.
- Download a zip of the Unreal plugins for OmniStream from GitHub - https://github.com/ZeroLight-Ltd/OmniStream-Unreal-Plugin.
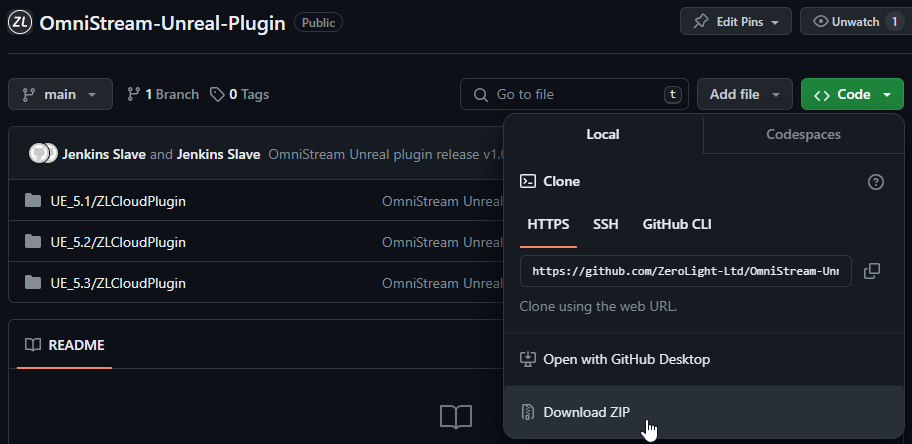
- After unzipping, copy the ZLCloudPlugin folder for your engine version into your project plugins folder. e.g. 'UnrealProject\Plugins' (create a 'Plugins' folder if one does not already exist).
- Restart Unreal Editor and the OmniStream settings menu will be added to the Editor interface here:
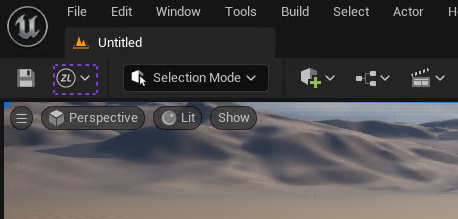
- OmniStream has been added to your project and you are ready to build and upload your application.
Build and Upload
- Select Build and Upload from the ZeroLight menu.
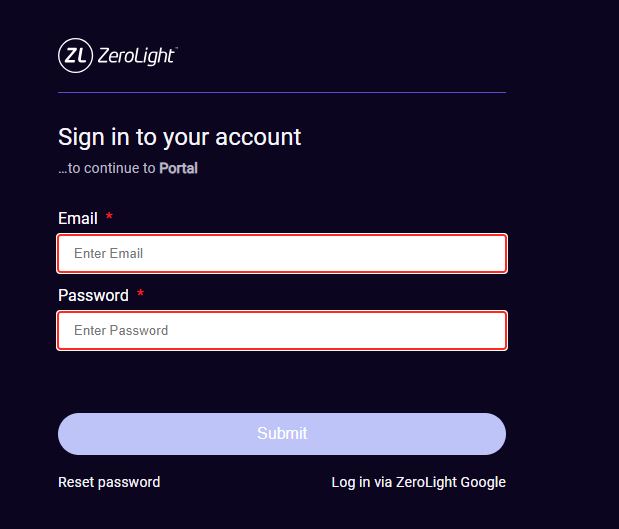
- Log in to the ZeroLight Portal (if you do not have credentials, please contact your account manager).
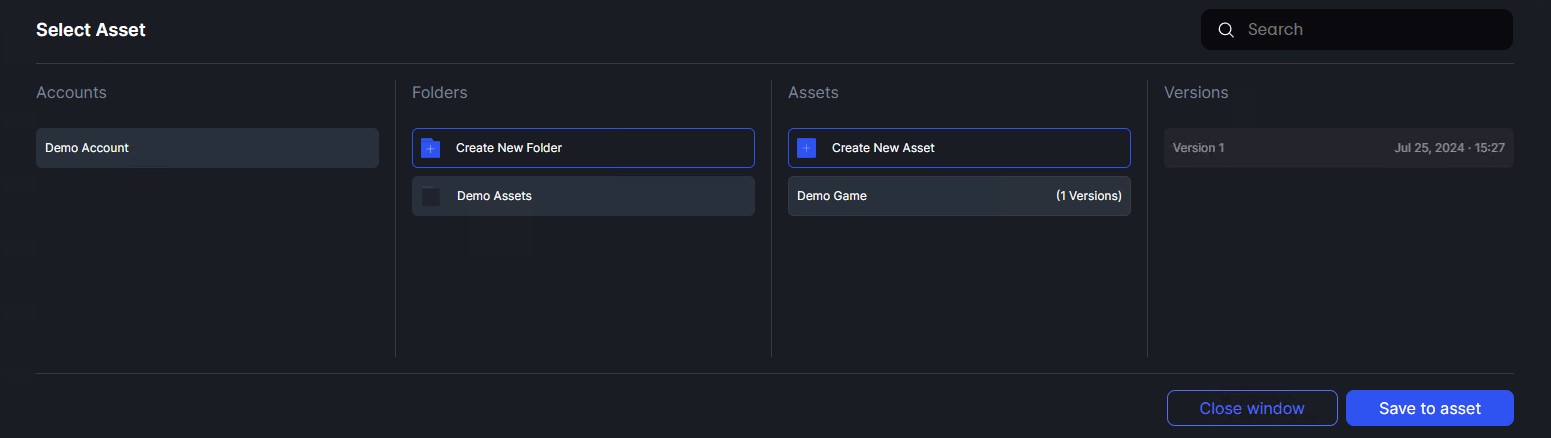
- First build only - pick the Portal asset you wish to associate your Unreal project with.
- The application will build and zip the results.
- Wait for the result to be uploaded.
- Once a build has been uploaded go to Portal to deploy it to your Render Service.
Next Steps
Now you've deployed your first application you're ready to test connecting from the Test page, send somebody a link/iframe into your website using the Viewer App or do a native integration into your website.
Some more advanced Unity topics to investigate:
- Allowing additional input keys for use in OmniStream.
- Using Blueprints to trigger actions when users connect/disconnect.
- Setting up CI/CD for your project
- For further information about the technical benefits of streaming your Unreal project with OmniStream, please see here.