Render Services
OmniStream can store lots of builds of the same application, in order to get a stream of one of those builds, you have to deploy it to a Render Service (often referred to simply as a "service"). A Render Service allows you to define the physical location of the servers streaming your application as well as configure other settings relating to how and when streams are run.
Some of the advantages of this setup compared to streaming application versions directly:
- The connection URL is for the Render Service, so you can update versions (or even switch applications) without having to send a new link.
- Separating production environments (e.g. "live" and "dev"), making it clear which builds are in use where.
- Access is configured at a Render Service level, making it easy to have authenticated access to some Render Services, and not others, for example having a "dev" environment protected but "live" publicly available, and this be consistent across deploys to each of these.
- It's easy to experiment with settings and hardware choices without affecting live deployments.
- Scheduling is per Render Service, so provisioning and expenditure can be easily controlled and tracked between production and non-production environments.
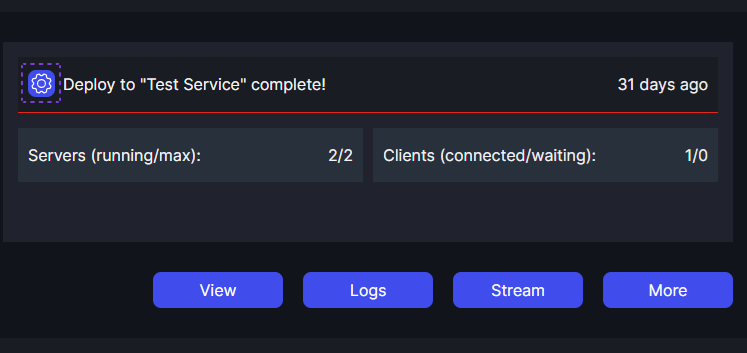
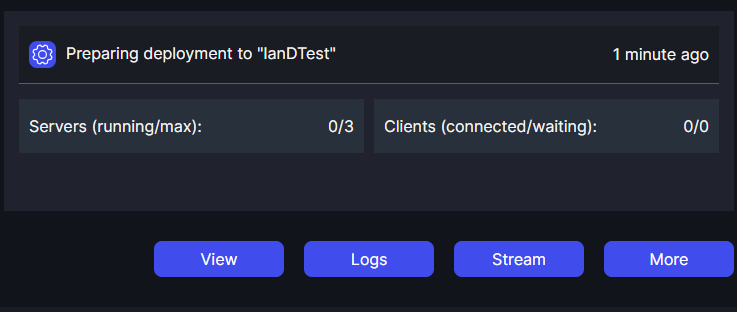
When looking at a Render Service within a Project in Portal, by default you get a collapsed view giving you some basic information about the service. To view more information or to trigger a deployment, click "More".
Activity
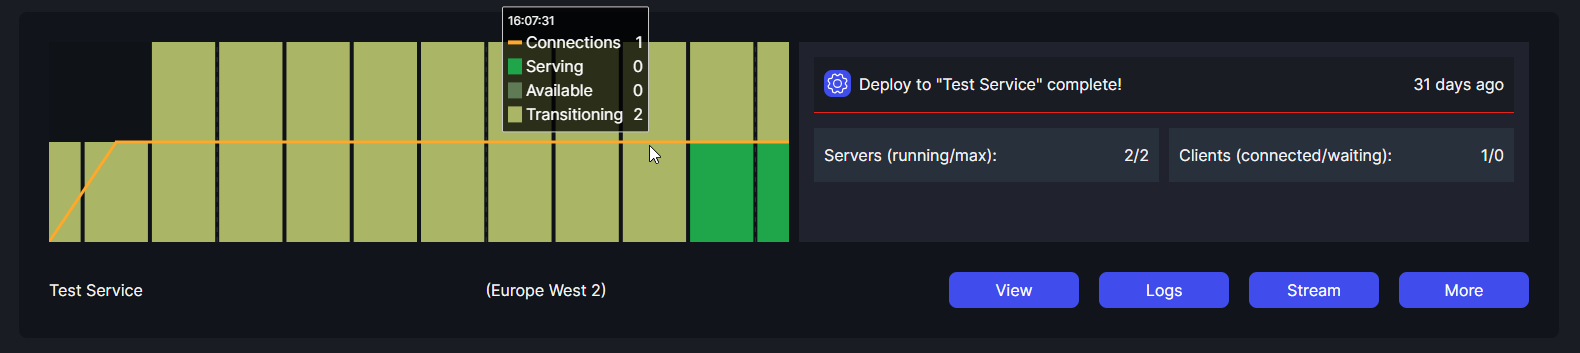
Some of the most important information about a Render Service is about what is happening right now, in terms of active streams and clients. On the right hand side you can see the figures showing you how many servers are running and what the maximum number of servers that are current allowed to run is (as defined by the currently applied schedule). You can also see the number of clients that are being served and the number of clients that are waiting for a stream.
The left side of the Render Service view, gives you a graph of this information over time. You can see clients coming into and leaving the service as well as servers starting, stopping and transitioning ("transitioning" is when a server is either starting the application on server start, or resetting it between users).
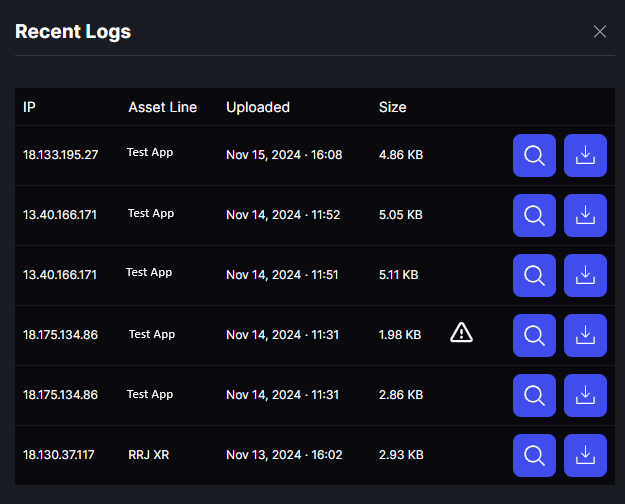
Application Logs
Clicking the "Logs" button brings up the interface to view logs from runs of the application(s) running on that service. In this window you can see various details about the log, including size, name of the application that it came from, time of upload of the log, as well as whether OmniStream identified the log came from a server that had encountered an issue (such as an application crash). You can download the log as well as look at a preview directly within the log viewer.
Viewing a Stream
To view a stream, or get a link to send others to view a stream, click the "Stream" button. This will bring up the Stream Options dialog.

From this interface you can choose to, view the stream within Portal, open it in a new tab, copy the link, or copy the connection parameters for a custom integration. You are also presented with some of the most commonly used options for controlling the experience. To understand more about these options and see additional options that can be added manually see Viewer App.
Deploying
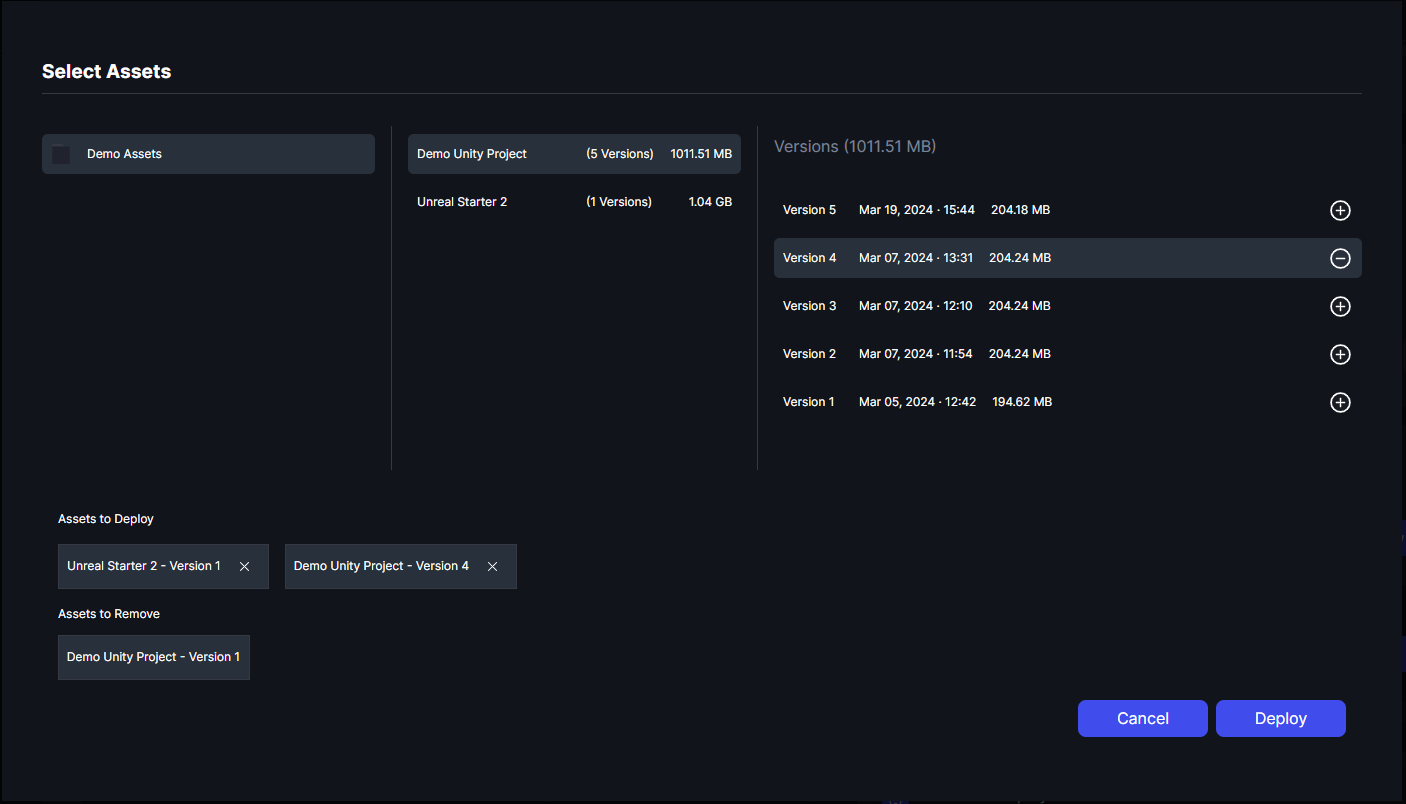
To deploy an uploaded Asset Version to a Render Service, click "View" and click "New deployment" and you'll see the deployment dialog. Here, you can line up desired changes to your service including the hardware type and the assets in use. In order to modify which assets are in use, click the pencil icon to edit the list. It is possible to deploy multiple assets to the same service, however only one version of each asset can be deployed at any one time. As shown the in screenshot below, if an asset version is deployed to a service, and a different asset version is selected to be deployed, the previously deployed version will be automatically removed from the deployment, and the newly selected version will be added.
All changes included in the deployment are shown at the bottom of the dialog for review before being confirmed by clicking "Deploy". Simply click cancel to abort the operation.
Once a deployment is requested it will take between 5 and 20 minutes (depending on the size and number of the asset versions being deployed). You will be notified of the status of the deployment in the Portal UI through popup notifications, the status can also be viewed at any time on the Render Service itself.

Scheduling Streams
Please see scheduling.
Settings
There are various settings you can set on a Render Service to adapt it's behavior to your needs, these can be access by clicking the purple cog on the service. For information about the controls please see the individual notes in the settings dialog within Portal.