Getting Your First Stream
This guide takes you through the steps to get your first stream through OmniStream. It assumes you've been in contact with ZeroLight and have gotten set up with an OmniStream account, and received an invitation email asking you to set your password for your account.
-
Click the link and follow the steps to setup a password, MFA and log into the ZeroLight Portal.
-
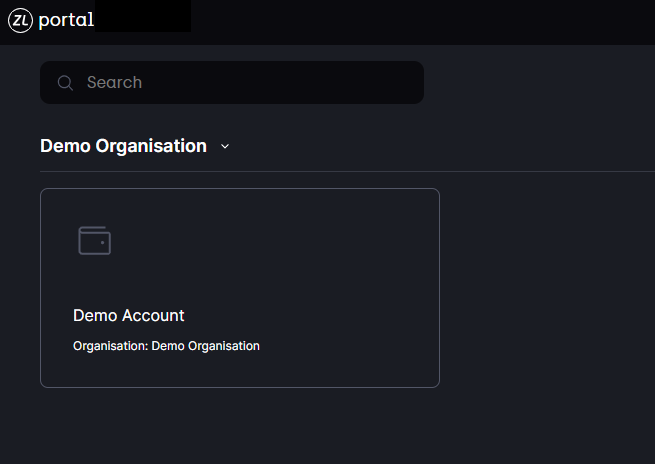
Once you're logged in, select your Account
-
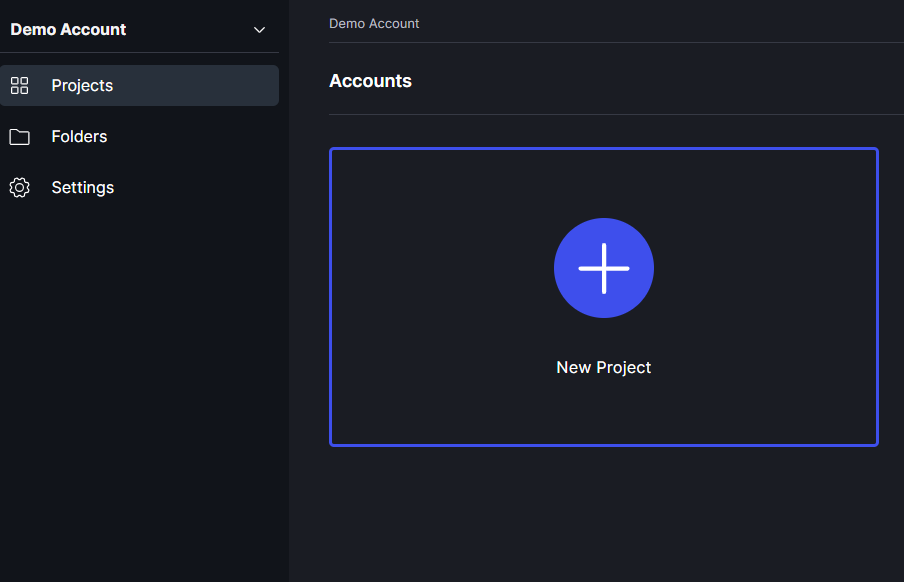
Next we'll create a Project and give it a name this is where we'll set up which region we want to host in and select which builds to deploy when we've uploaded them.
-
Once we have a Project, we can create a Render Service, giving it a name and selection the region and hardware to use for the service.
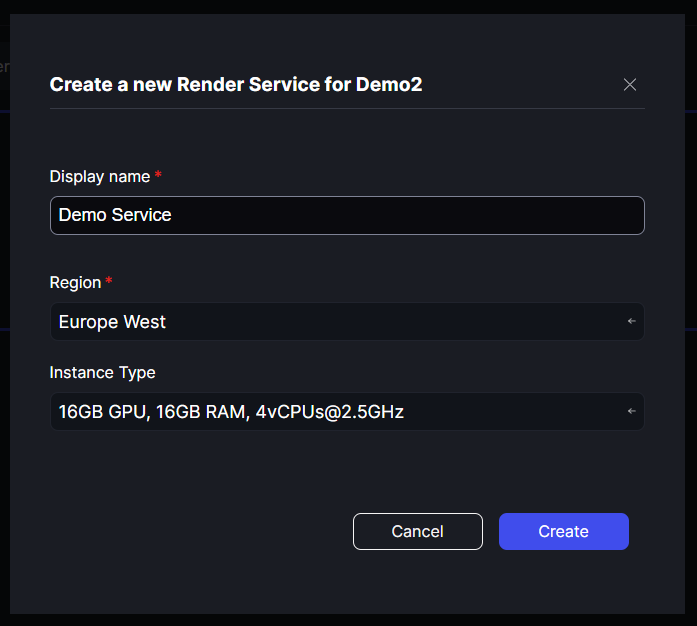 Note
NoteInstances other than the 16GB GPU, 16GB RAM, 4vCPUs@2.5GHz have an increased cost - contact your ZeroLight Account Manager for details.
-
With the Render Service created, at the moment there's not much to see. We can see it is off and there are no recent deployments.
-
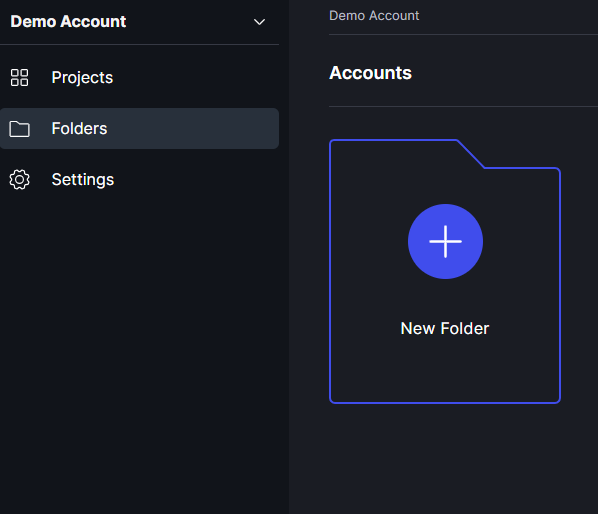
Before we can deploy to our new Render Service we need to upload a build. In order to do that we need to create a Folder to put the assets in. Click the Folders item in the sidebar, click New Folder and give the folder a name.
-
The last thing we need to do before we upload a build is to give our Project access to our new Folder. Click on Project in the sidebar again, and then select the Linked Folder Tab. Click Link Folder and select the Folder we created in the previous step.

-
Now we're ready to integrate the OmniStream plugin into your project and upload a build The steps are similar but vary slightly depending on your project:
-
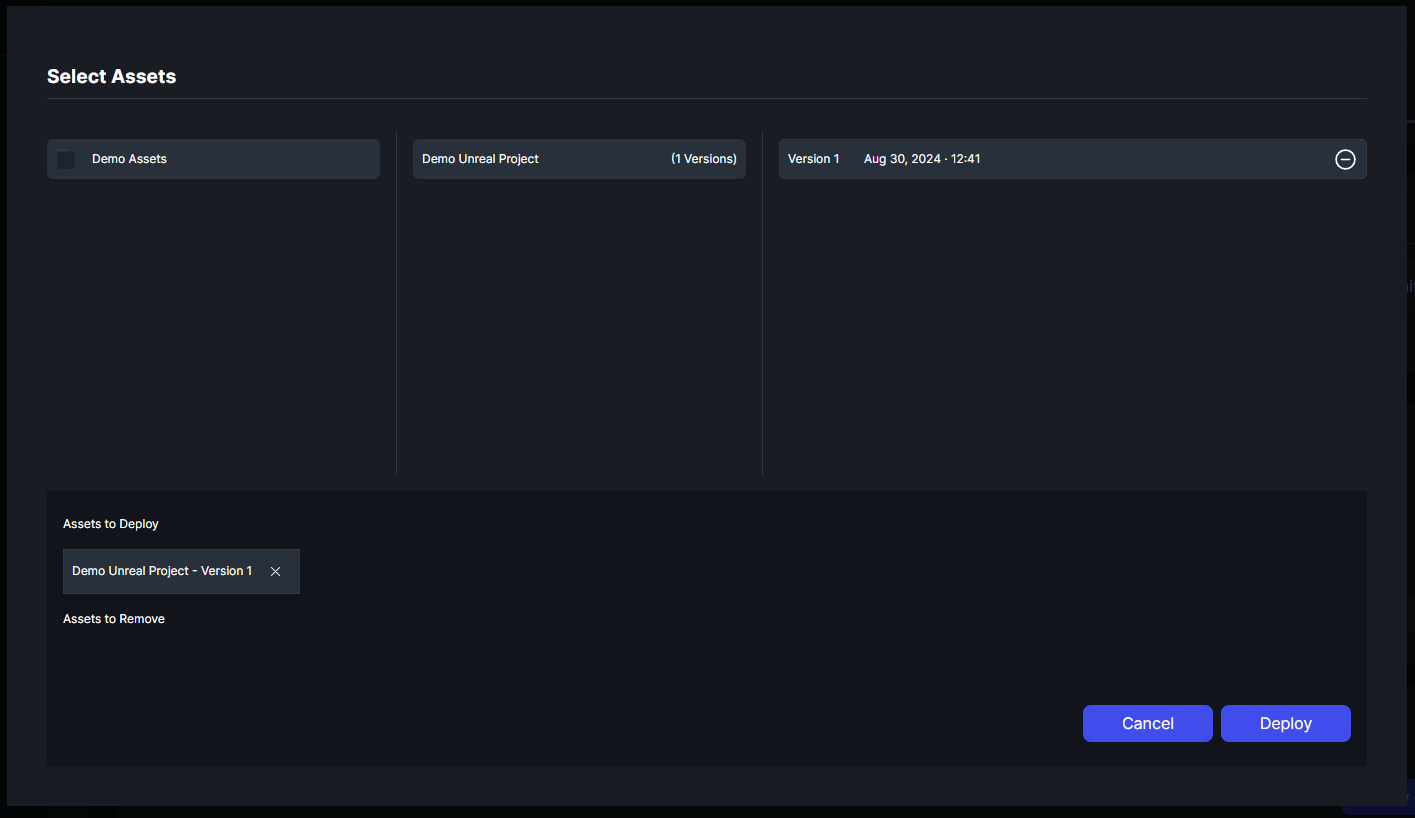
Once your upload is complete head back to your Project in Portal and click View on your Render Service. This gives us some more information about the service and what's currently deployed (nothing at the moment), and allows us to deploy something to our service by clicking New deployment. This will bring up the deployment dialog and allow us to select the Asset Version we want to deploy. At the bottom of the dialog it will show which Asset Versions will be removed in this deployment (nothing on the first deploy) and which Asset Versions will be added. When we're ready we can click Deploy.
-
Wait for the deployment - once Deploy is clicked the deployment will start, this usually takes between 10 minutes and an hour (depending on size of the project). You'll get notifications in Portal on the status of the deployment and the status is also displayed on the Render Service itself.
-
Once the deployment has finished, we can stream the application! To do this click the Stream button on a Render Service, select your options and then you can choose view the stream within Portal, open it in a new tab, copy the link, or copy the connection parameters for a custom integration.

And we're done! Now you can iterate on this process or look into more advanced OmniStream topics such as:
- State Management
- CI/CD
- Image mode
- For further information about the technical benefits of streaming your project with OmniStream, please see here.